Community Fibre: How to get an extra ~123Mbps increase in download and upload speed
Bypassing the ISP issued ONT by using an SFP+ module that has 8311 Firmware

Introduction
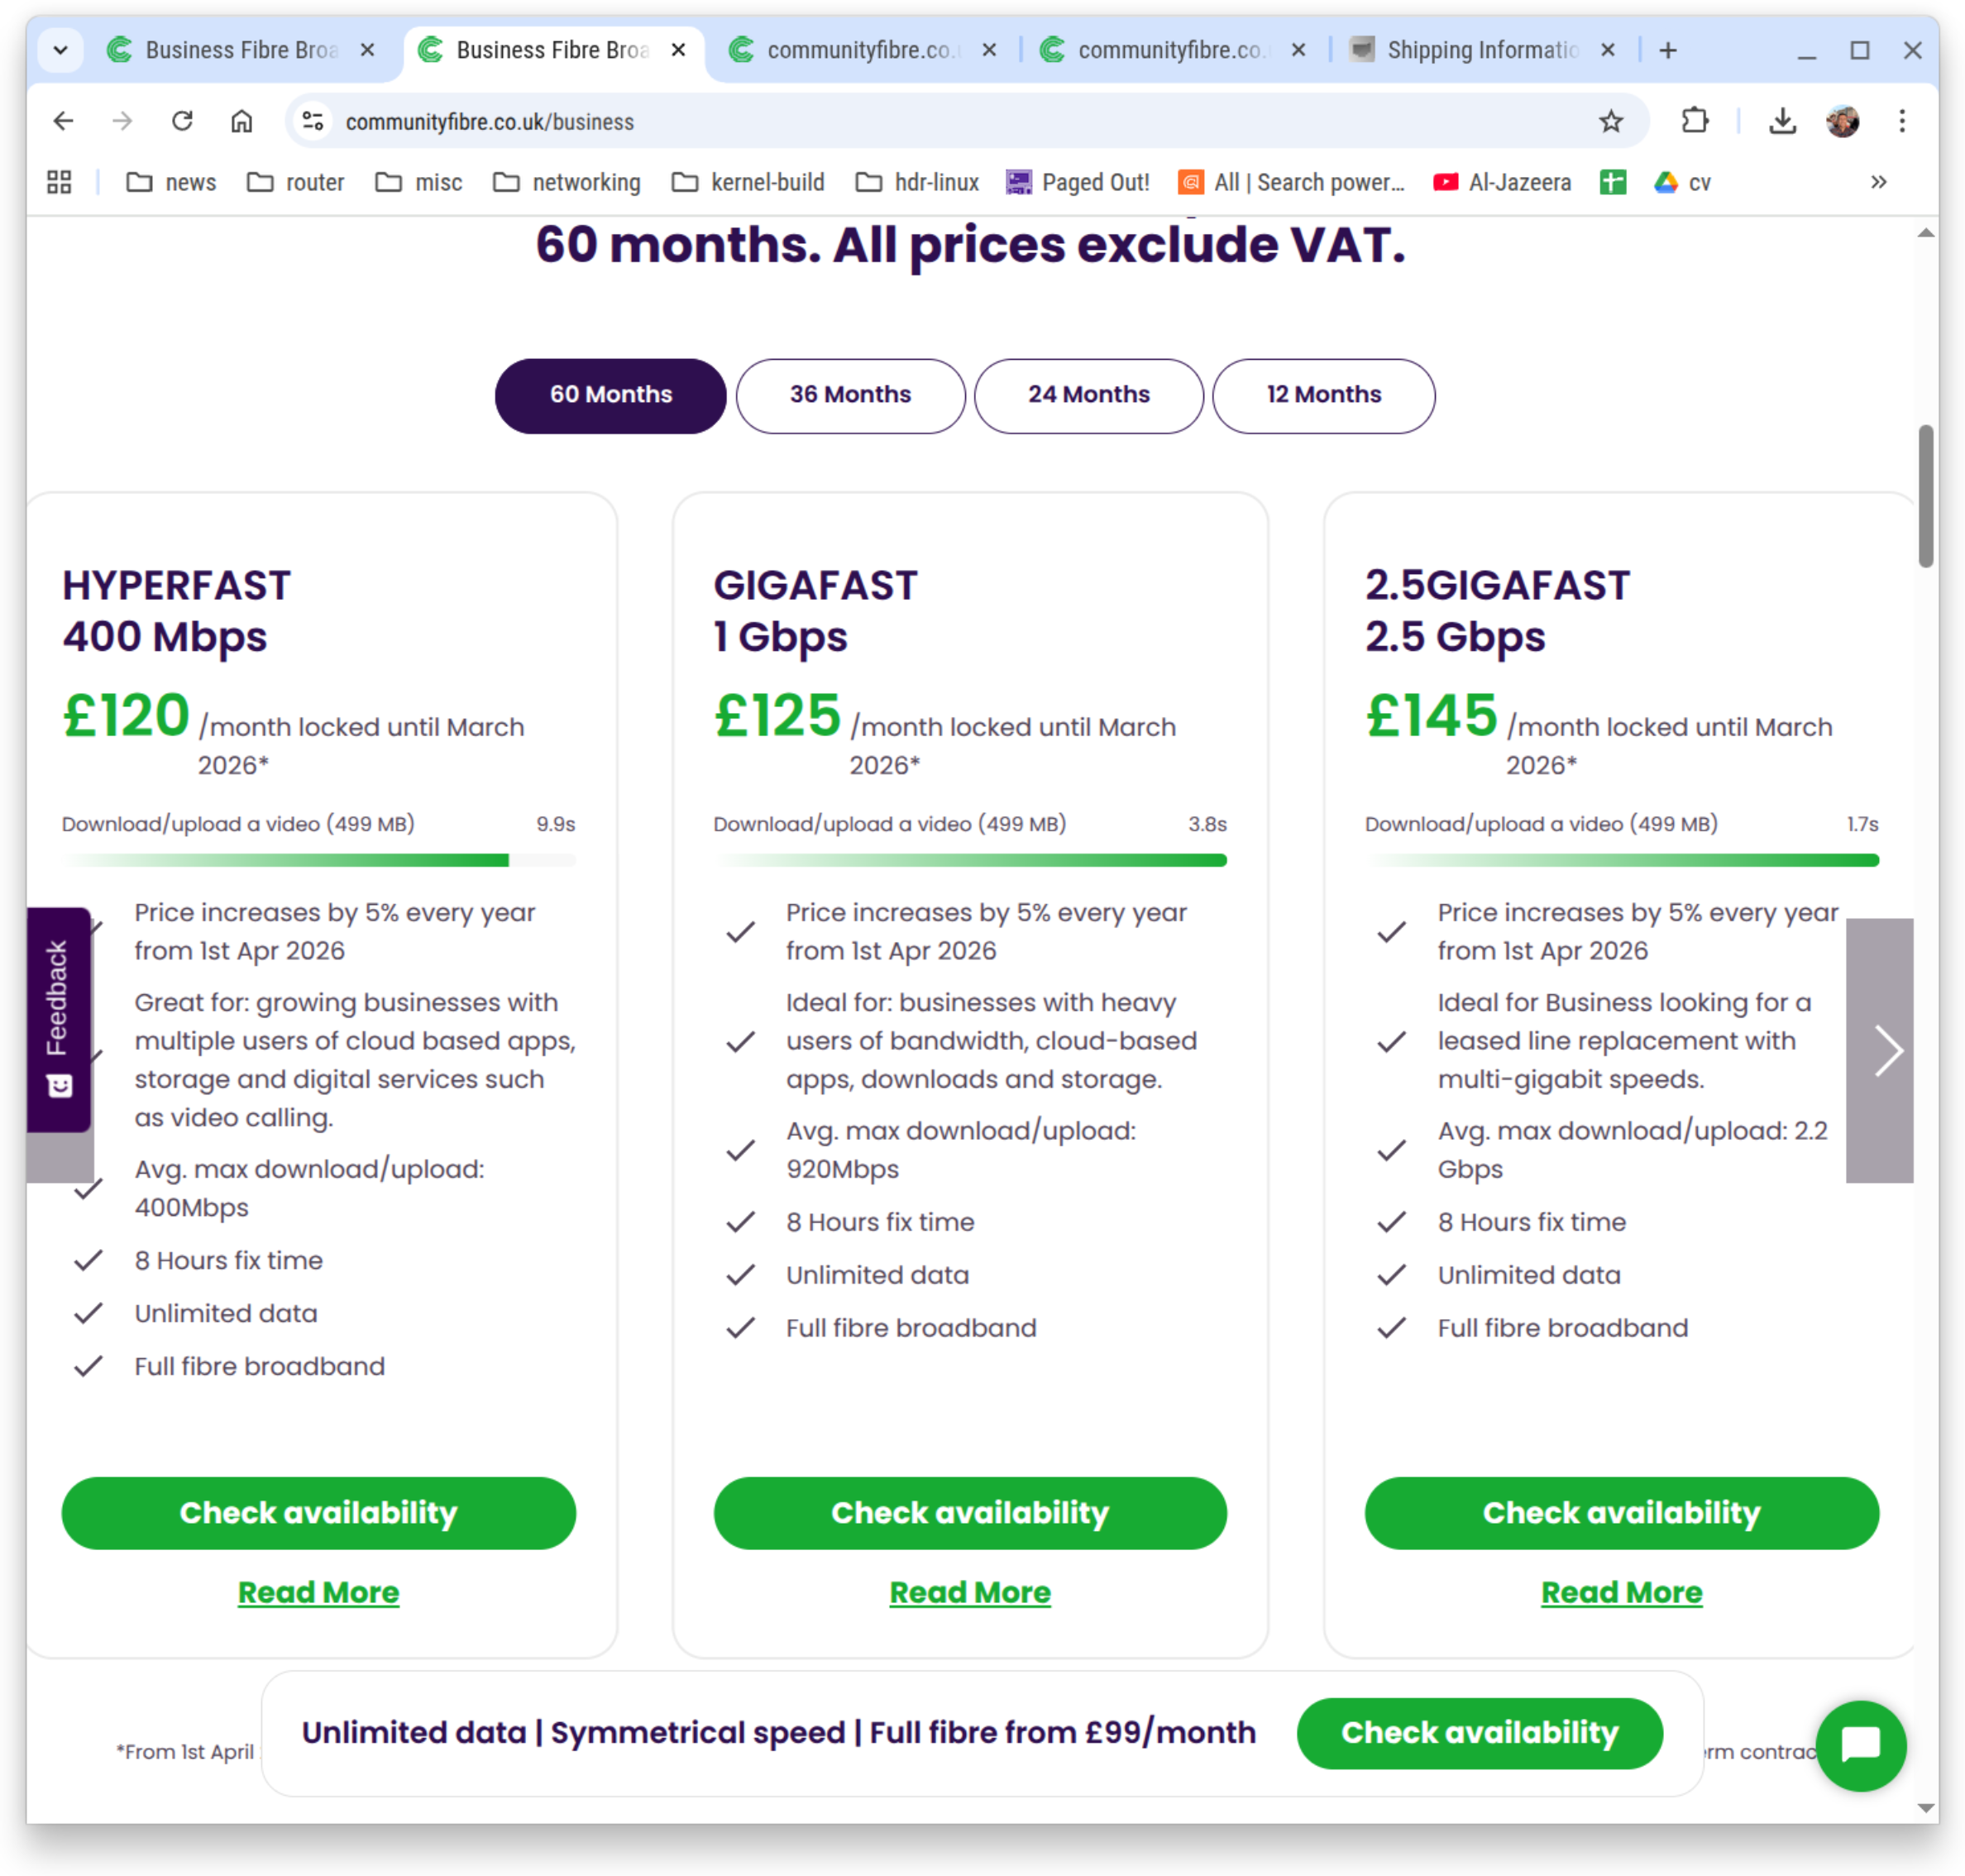
First thing’s first, big shout out to Community Fibre for providing me with (a business plan) GIGAFAST 1 Gbps package. Superb team and support! 10/10 so far. The average speed is advertised at 920 Mpbs, as below:
This is if you decide to use their equipment, which are:
A ADTRAN-SDX-631q for the ONT.
A Technicolor Dual-Band WiFi 6 (FGA5330) for the router.
If you decide to make matters into your own hands and decide you don’t need of any this and want to get the fibre direct to your PC, like what I did, it’s possible but you’ll need some equipment. Let’s start with that then. Any of the below should work as I’ve tested out both SFP+ sticks but I do prefer the pricing of the stick by Better Internet.
XGSPON ONU Stick SFP+ Compatible 8311 Firmware :
https://store.betterinternet.ltd/product/x-onu-sfpp: Great pricing but instructions could/should be as good as the one below by FiberMall. Although in all fairness Better Internet do offer to put in your ONT serial for so you don’t have to mess around with the configuration GUI.
https://www.amazon.co.uk/dp/B0F2TBB4TD?ref=ppx_yo2ov_dt_b_fed_asin_title, which I believe is effectively this, https://www.fibermall.com/sale-462134-xgspon-onu-sfp-stick-i-temp.htm: I don’t like the pricing on it but the instructions, in all fairness are good.
Configure your stick
Get your ISP issued ONT and get the serial number at the back of it and take note of it. It’s case sensitive. If it is like mine, it should be something like
ADTN25057FA8. We’ll need this later on when we’re configuring the stick.Insert the module into an SFP cage.
Assign the IP address of
192.168.11.2to yourself. Since I am using Linux, the appropriate command to run is:# ip address add 192.168.11.2/24 dev sfp0Replacingsfp0with the correct device name, and you may also need to run:# ip address flush dev sfp0 scope global
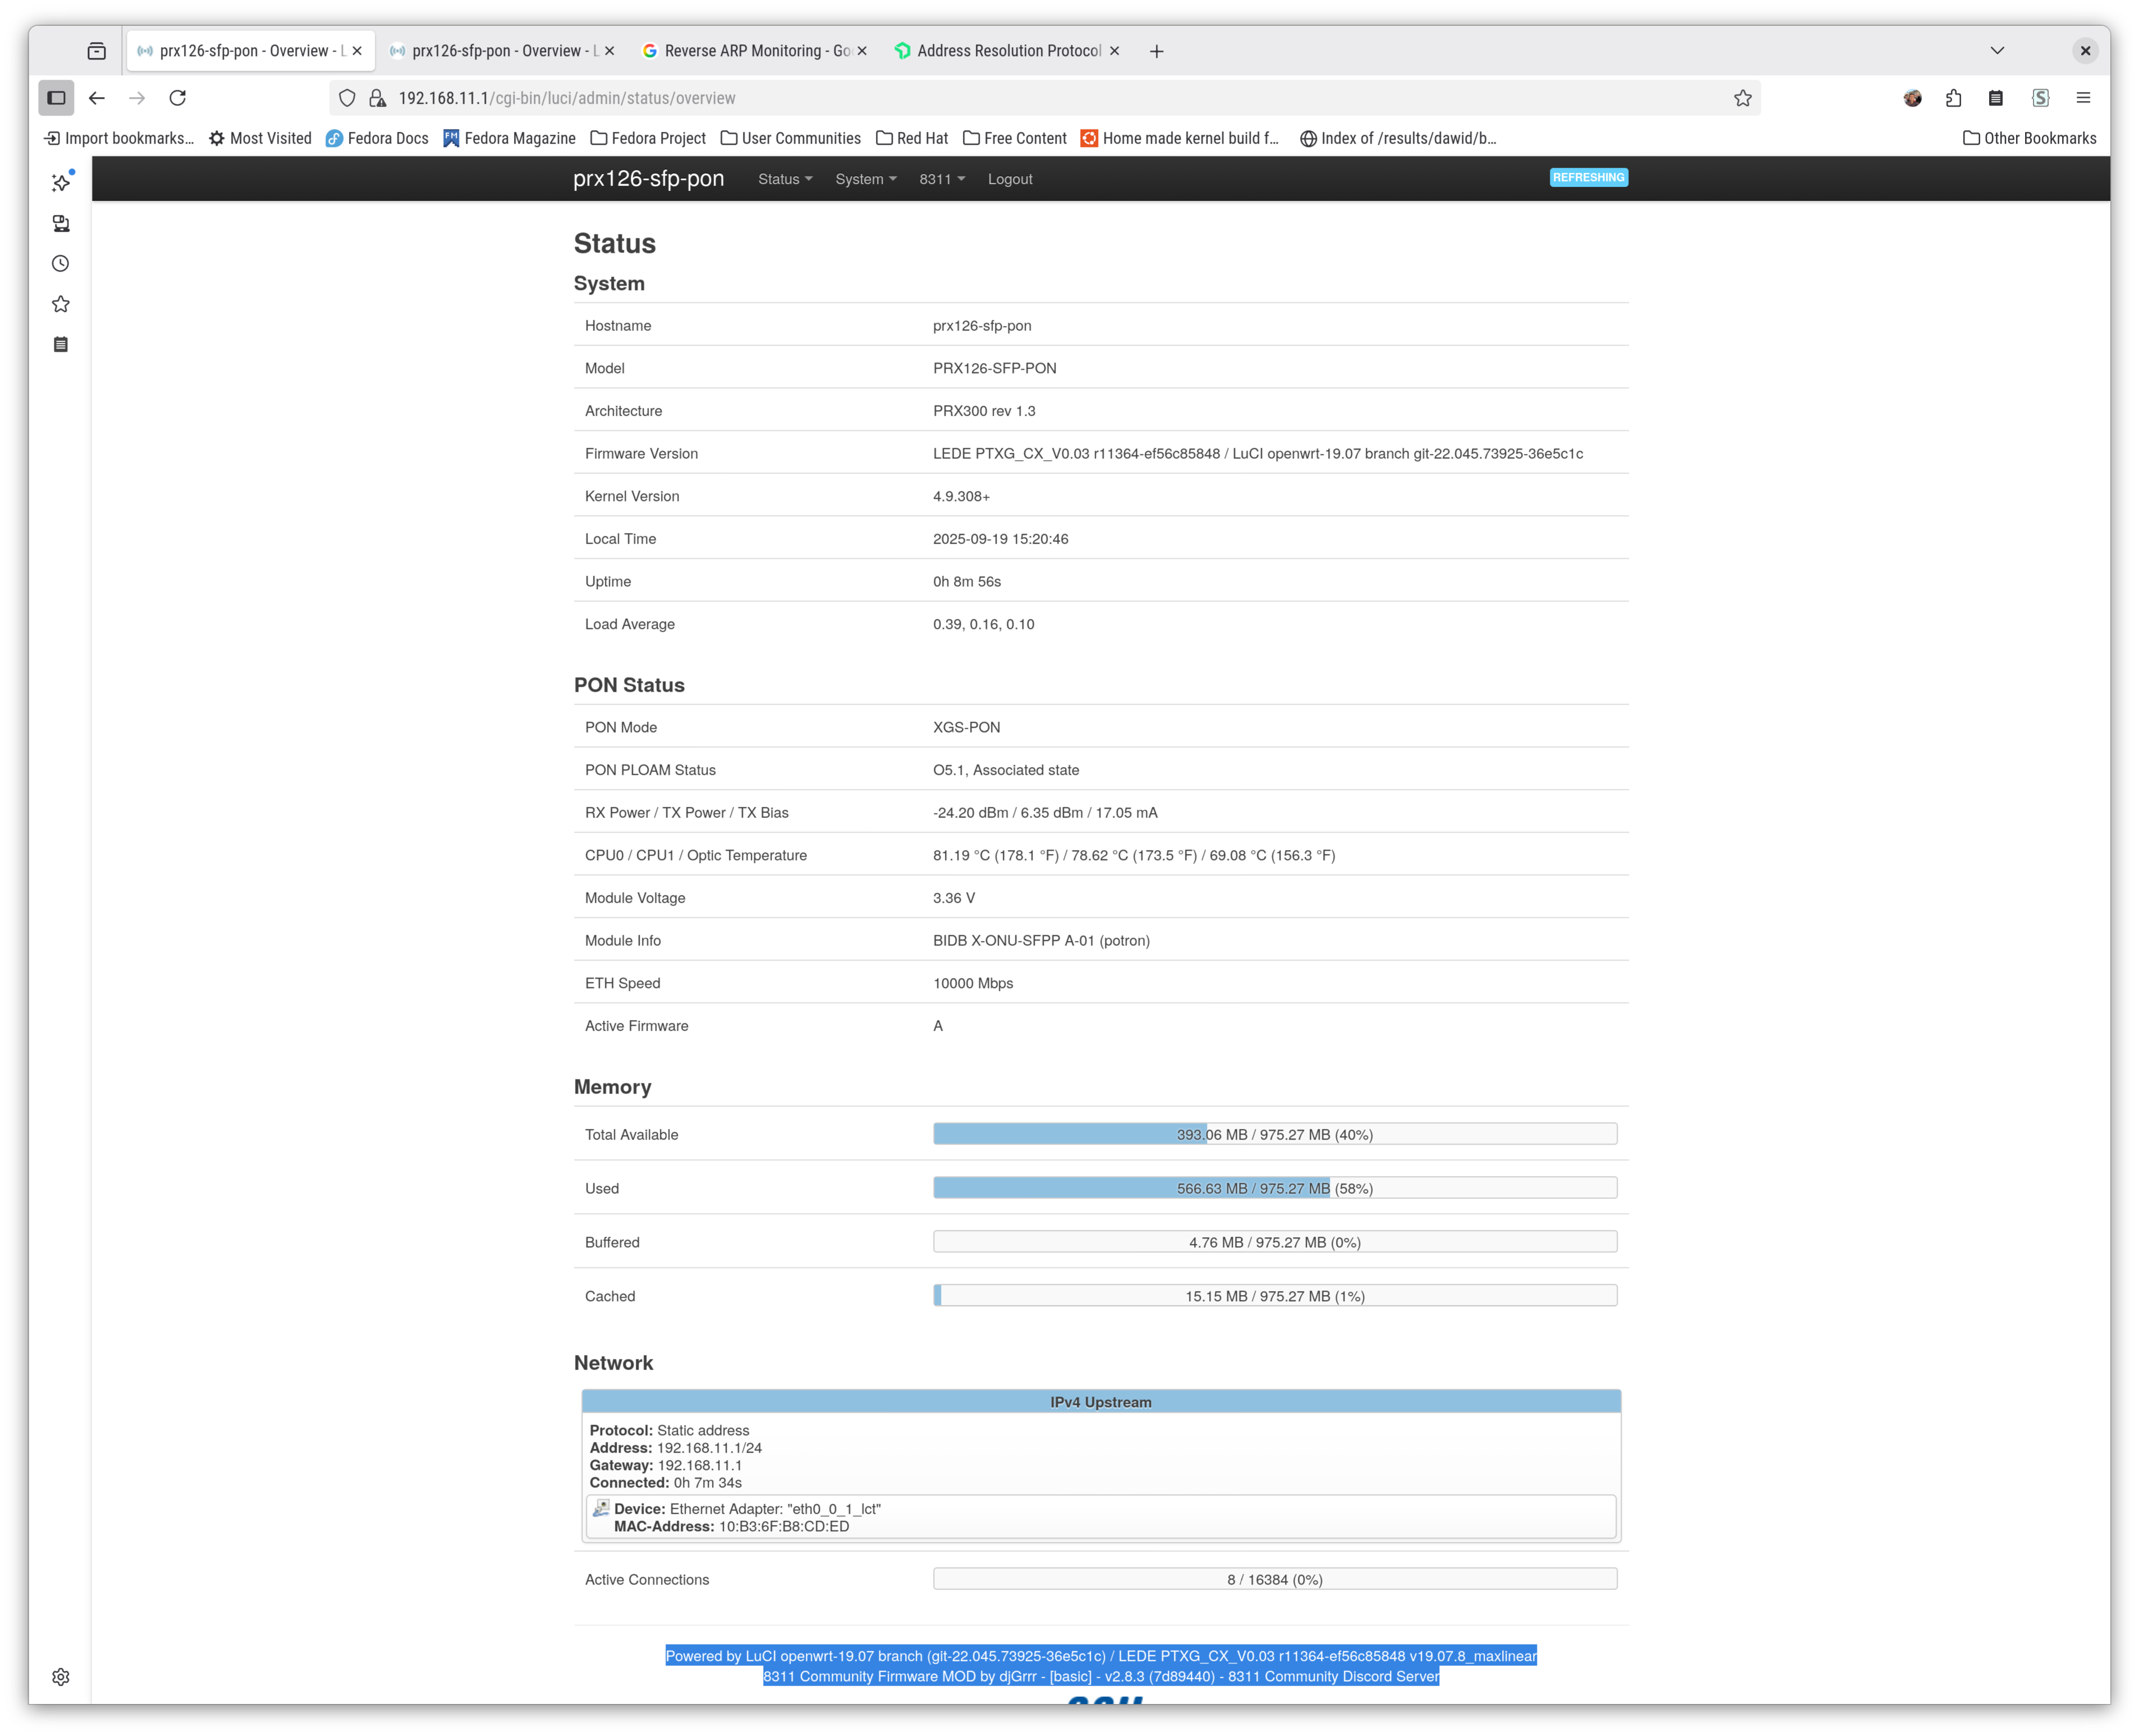
Shortly after this, you should be receiving pings from192.168.11.1and should also be able to ping192.168.11.1. Wait a minute or then to and go to https://192.168.11.1orhttp://192.168.11.1. You should be greeted with a login page, the credentials of which depend on who supplied you the SFP stick. Once you’re, you’ll see image1.Click on
8311thenConfiguration. Enter the ONT serial number you gathered in step #1 as-is without modification. Do not make any further changes. As an example, all I had to do in my case was enterADTN25057FA8under PON Serial Number (ONT ID), and hit save, then reboot.Once it’s reboot under PON Status ensure that you see O5.1, Associated state there. It’s an indicator that it has established a connection with the OLT.
If you are on dynamic IP address plan, you should be all good to go. If you’re on the static plans, there’s some more manual configuration required. I’ll leave it to the reader as a exercise. If you can’t figure it out, just join the Discord channel and I’ll try to help you get working.
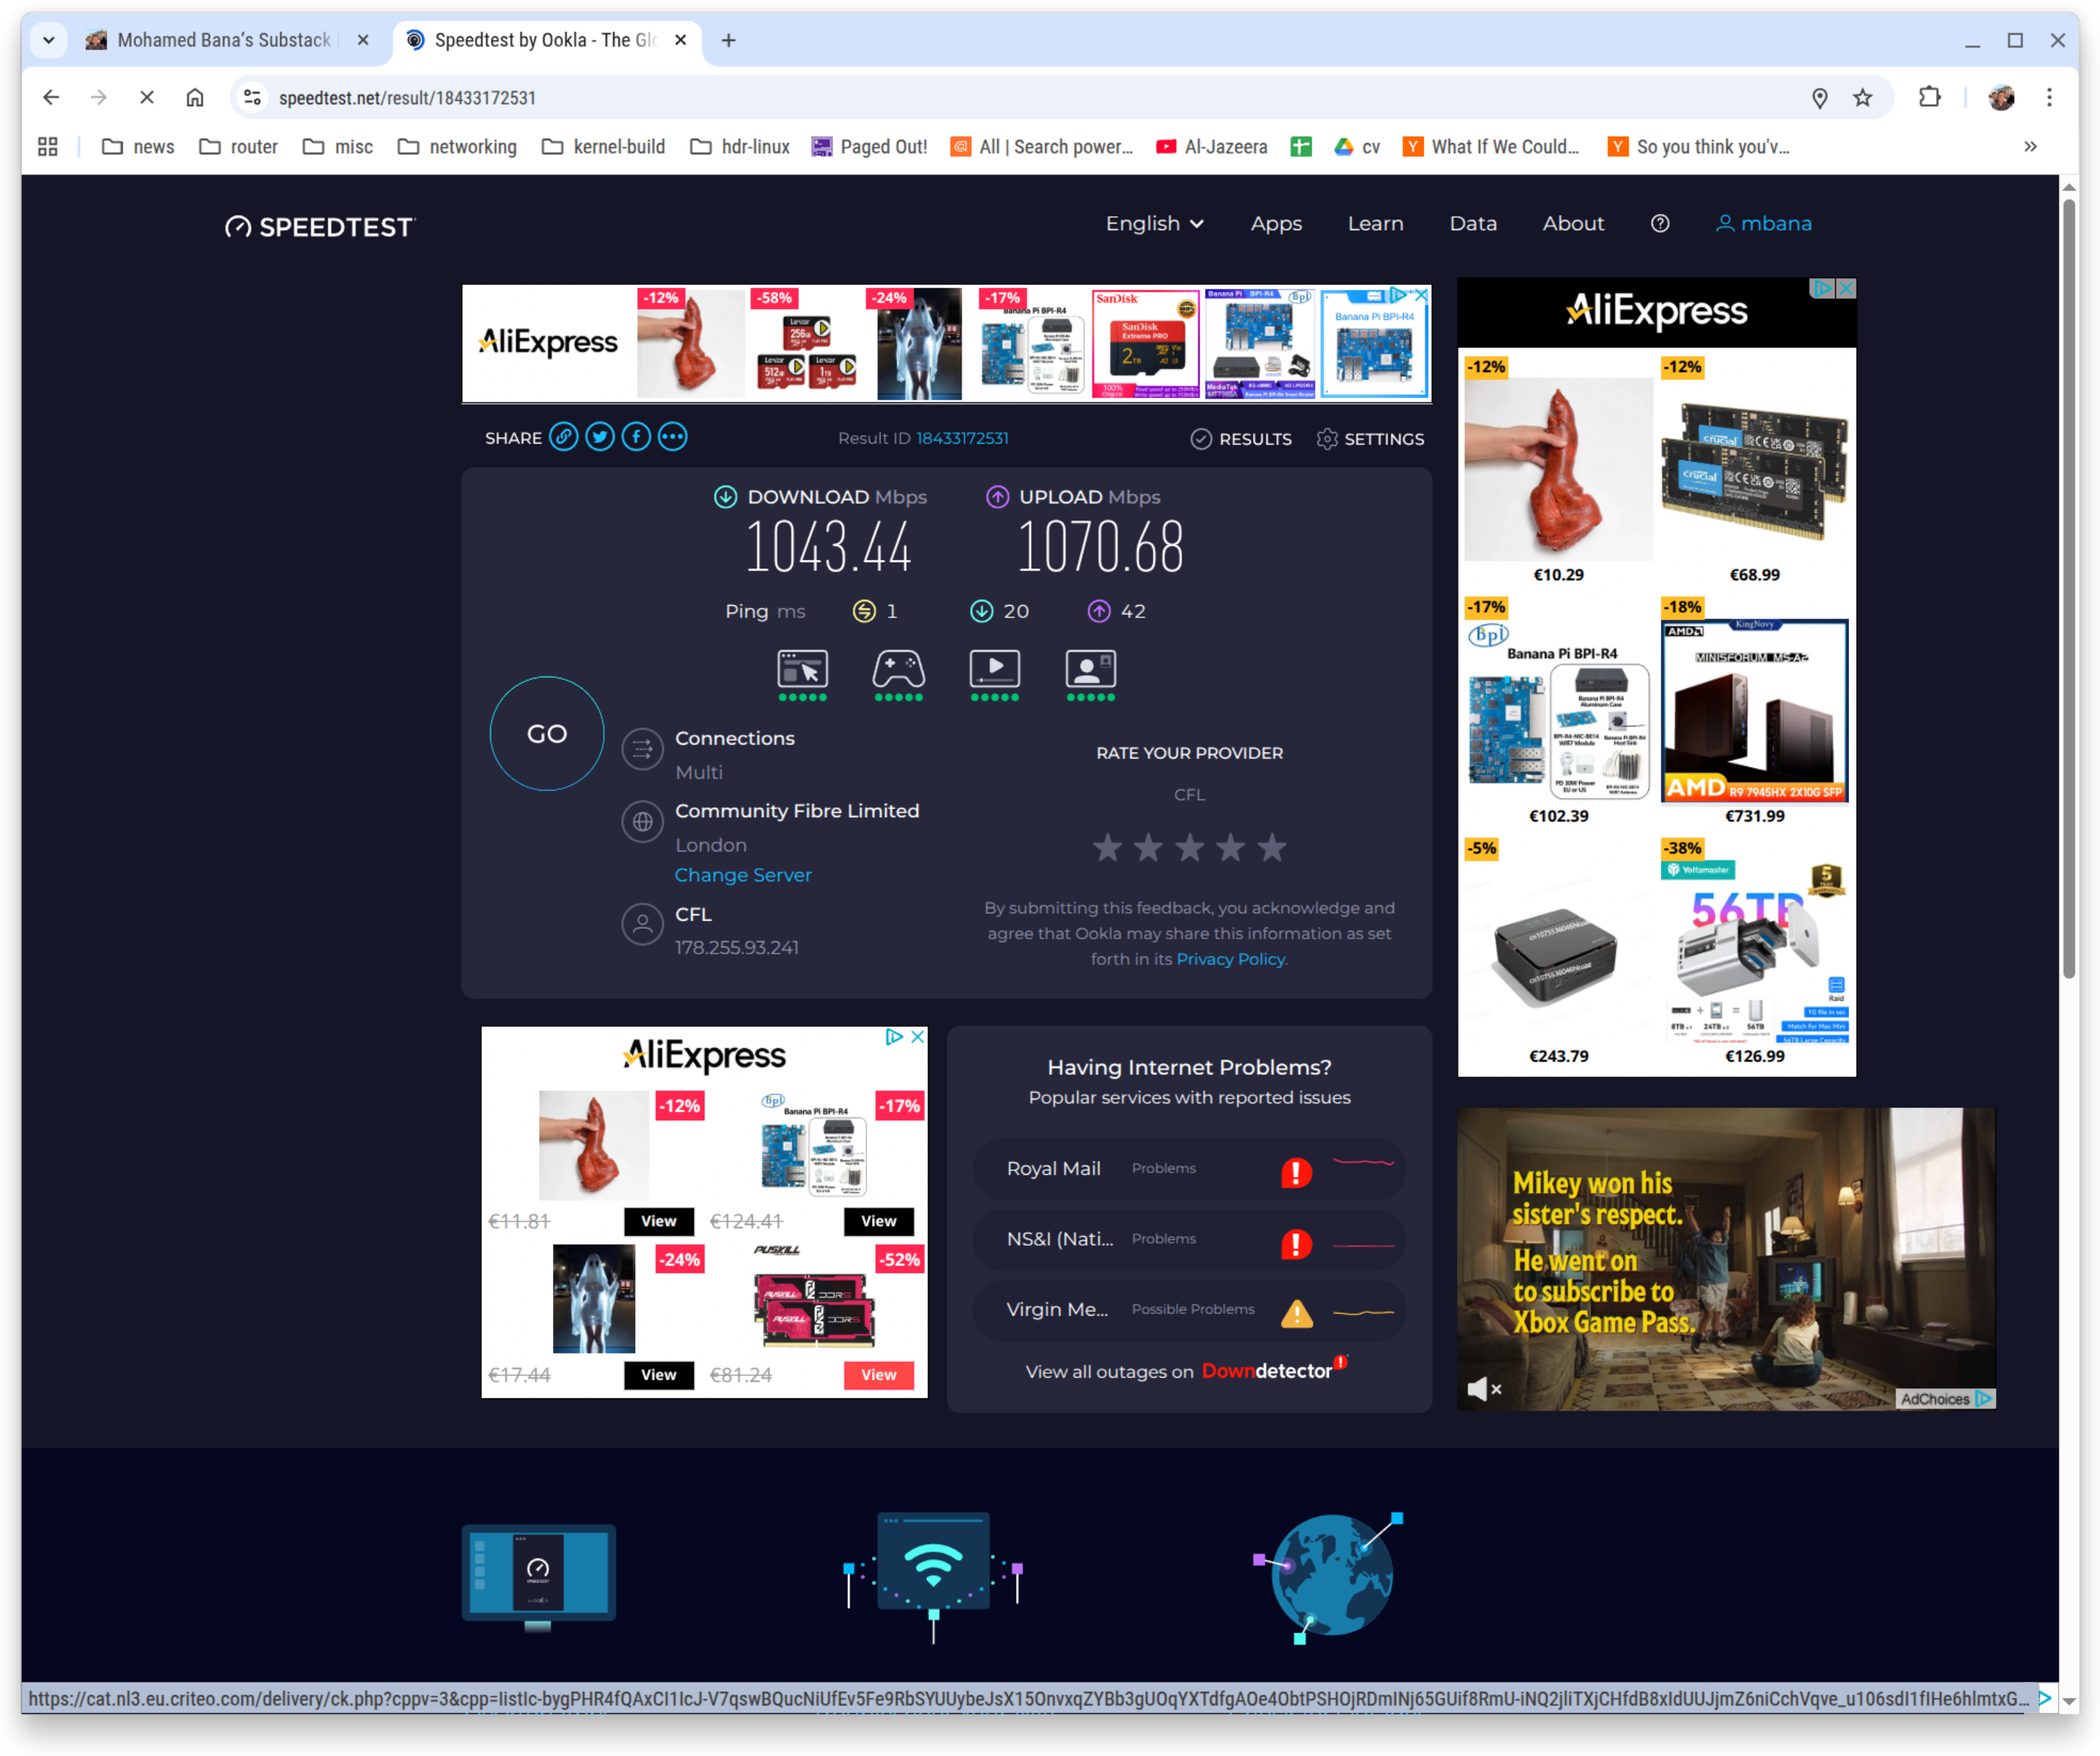
Final result of all the work2.
Links
Landing page of 8311 Community Firmware once a connection to the OLT has been established:
Speed test are using the SFP module instead of the ISP-provided ONT and the ISP-provided router: